How to make a slate house sign
1. Obtain a suitable piece of slate
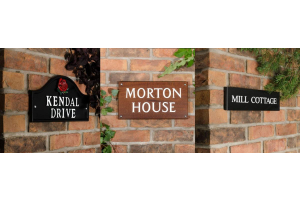
How to make a slate house sign. The slate can be green or black (charcoal grey) and can be rough or smooth finish. The important thing is that it has a flat back for easy fixing.
Slates can be purchased from slate companies, slate mines and specialist suppliers or from recycling and reclamation yards. You may also be lucky and find a helpful builder who has a one spare from a roofing job.
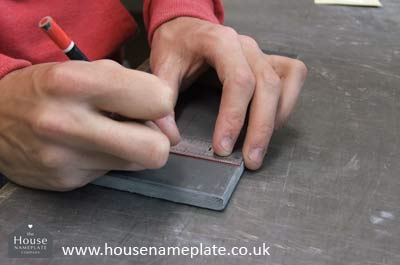
2. Mark out to the required size and trim
Cutting Slate Signs
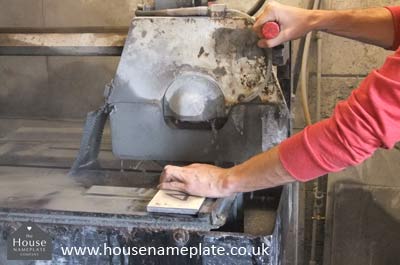
This is the stage where most breakages happen so we recommend doing this before you spend time on you design. It is best to turn the slate over and mark out the correct size on the reverse. Use a scalpel or other blade to do this. A t-square is recommended to ensure the corners of your sign are square and the edges are straight.
Be very careful when trimming. It is advisable to wear safety glasses and gloves just in case the slate breaks. The slate should be placed face down on a slate cutter and quickly cut to size. To avoid cracking or splitting, it is best to use a new or sharpened blade.
3. Mark and drill the screw holes
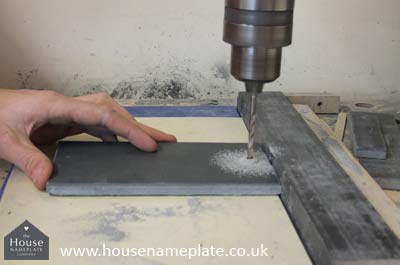
Drilling screw holes for a slate sign
This is another stage where breakages occur, so again be careful. Cover the location of where the screw hole will be with duck tape – this helps prevent cracking. Then, on the front of the sign, measure and mark a drill hole on either end of the sign.
Use a new or sharpened drill bit and carefully drill through the sign, in the places you have marked. It is recommended that you place some scrap wood underneath the slate so that you can drill through the slate while the wood supports the slate.
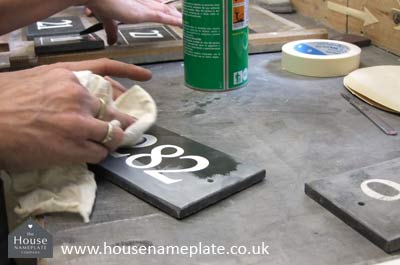
4. Clean the slate
Cleaning a slate sign
By now the slate will be dusty and unclean. Take a moment to give it a good clean with a damp cloth. Do not leave immersed in soapy water for long periods.
5. Mark out your design
Mark out the design for the slate sign
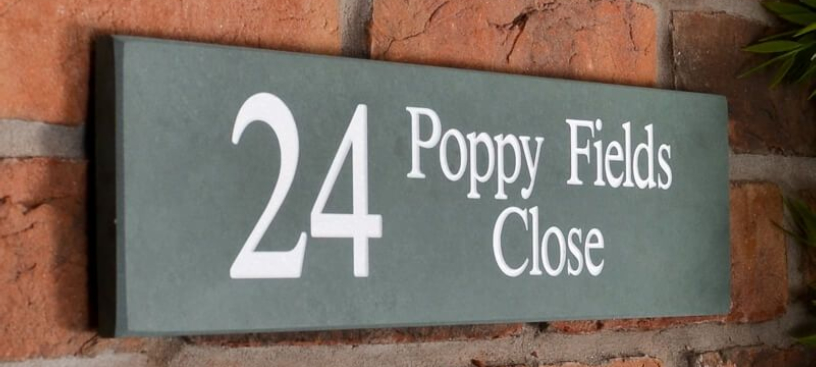
You may wish to include a house name or number as well as a motif or personal design. This can be drawn by hand for a rustic or organic look, or it can be created on a computer. The design can be marked out on the slate using a stencil and a pencil. It is best to fix the stencil to the slate sign securely while you mark and paint it.
6. How to make a slate house sign: Paint your sign design on the slate
First choose your paint. You’ll want colours that coordinate with your home and that are easy read from a distance (be nice to your postal worker!)
Use good quality acrylic paint and invest in decent paint brushes of a suitable size. You will need to either use a base coat or expect to apply 2 or 3 thin coats of paint. Remember that your motif can be a different colour to your house name or number. Ensure the sign is really dry before proceeding.
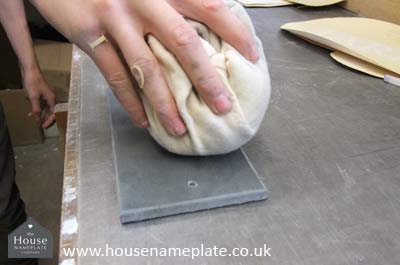
7. How to make a slate house sign: Treat your sign with protective coating.
Wax the sign
To ensure your slate house sign lasts for years, apply a thin coat of oil or acrylic spray. Leave your sign to dry.
8. How to make a slate house sign: Mark out and drill the wall
Using a fine pencil, mark the wall where the sign will go. For accuracy, it is best to mark through the sign’ screw holes. Use raw plugs and a couple of suitable grey coloured screws to affix to the wall.
9. Stand back and enjoy the look of your sign
You can even send us a photo of you completed sign.
Materials you’ll need for making a slate house sign
Slate
Acrylic Paint
Protective oil
Grey screws and raw plugs
Tools you’ll need for making a slate house sign
Slate cutter
Drill
Screwdriver
We hope you like our guide to How to make a slate house sign. Of course, if you don’t want to go to the trouble you can design and preview your slate sign at www.housenameplate.co.uk and we will produce it for you.